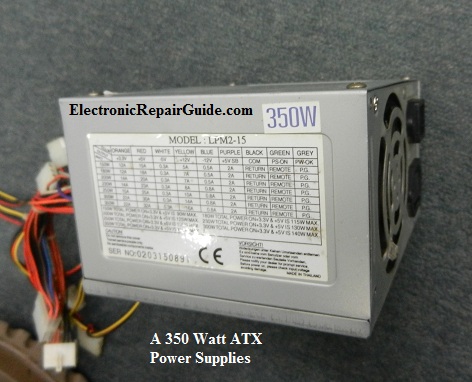
No Power in 350 Watt ATX Power Supplies Solved
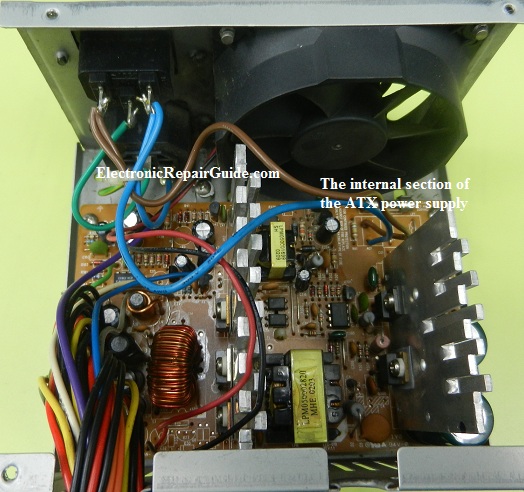
The complaint of this ATX power supplies was no power. As usual one has to remove the 4 screws in order to remove the top casing. The first thing I do was to look at the circuit board for any sign of component failure. All the filter caps in primary and secondary side looked good except the main fuse. There was a slight burnt mark in the glass fuse. Whenever the main fuse have problem, one has to check on the semiconductors such as the bridge rectifiers, power Fet, transformer primary winding and etc.
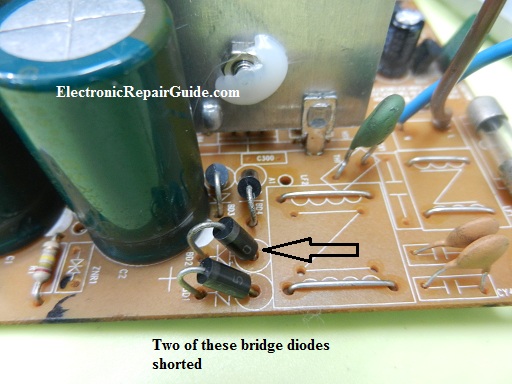
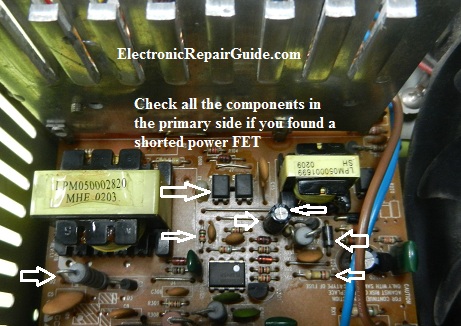
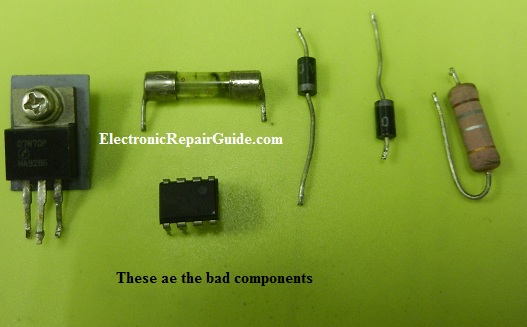
As expected two of the bridge diodes had shorted. My next check was on the power FET. The power FET was shorted too. Since power FET already shorted, one must always check on all the components in the primary side.
Tip: If the power FET is good then you can just replace the bridge rectifier diodes and the main fuse and power it on to test the power supply.
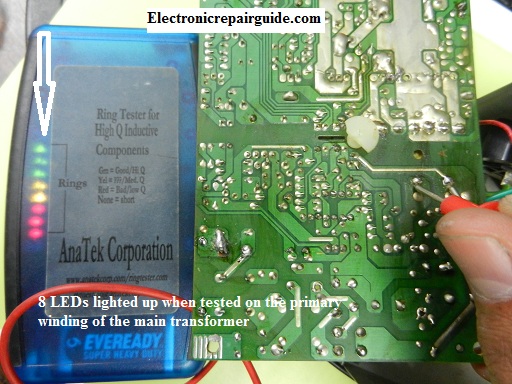
After confirmed that the power FET is shorted my next move was to check on the primary winding of the main transformer. It was tested good and showing 8 LEDs on my Blue Ring tester.
Note: There is no point to troubleshoot the ATX power supply if you found that the primary winding of the main transformer is shorted. The reason for it –there is no such part for sale. If you did not check on the primary winding first and you concentrate on checking other components, time will be wasted if at the end of the troubleshooting you found that the transformer is indeed shorted. If you check on the primary winding first and confirmed that the primary winding is shorted, you can just pack up the power supply and continue to do other repair job. Time is very important in electronics repairing.
Since the main transformer found to be good my next move was to check on all the components in the primary side.
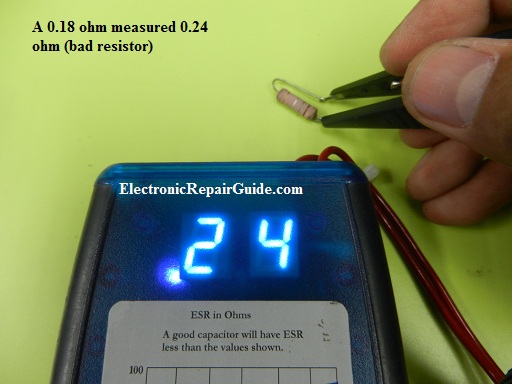
I found the current sense resistor have problem and the value increased from 0.18 ohm to 0.24 ohm when tested with Blue ESR meter. Please see the photo below.
This increase could affect the total output voltages of the power supply. If the increase is too great it can cause the output voltages to drop few volts from the original value.
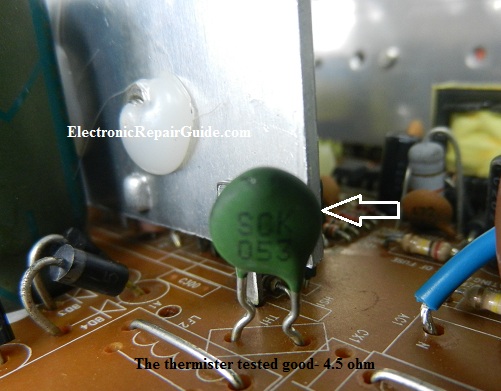
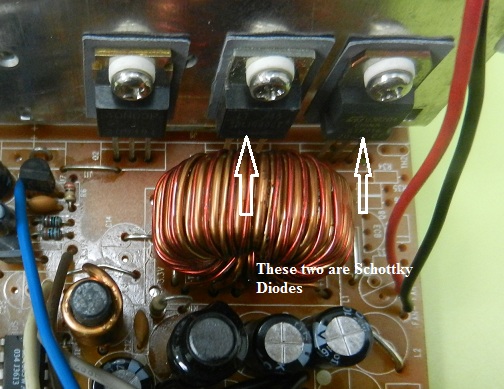
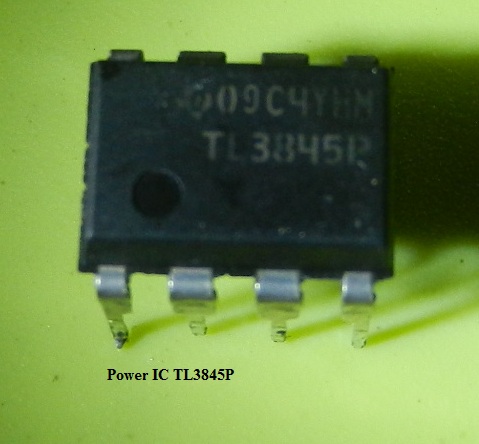
From experience, whenever there is a shorted power FET, the power IC usually will kaput too. I have checked the resistors, capacitors, transistors and even the 3 Optoisolator ICs and all were tested good. I’ve also checked on the secondary Dual Schottky diodes and both were tested good.
Note: You need to be good in Testing Electronic Components in order to perform the task of checking the electronic components.
After spending some times on this power supply I concluded that only the Fuse (2 Amp), 2X Diodes (2A05), Power FET (7N70P), Power IC (TL3845p) and current sense resistor (0.18 Ohm) have problem.
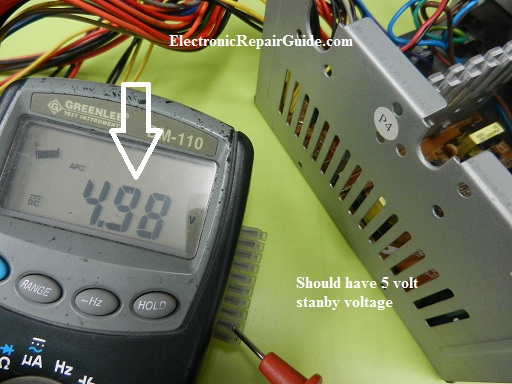
For your information I did not directly turn “On” the power supply after the replacement of new components. I used a 100 watt light bulb in series with the fuse line (fuse removed) and found that the bulb did not glow at all once the AC power is applied. This had proven no more shorted components in the power supply and I can place back the main fuse and turn the power supply “On”. The moment I have connected the AC power, I checked on the 5 volt standby pin (pin 9).
4.98 volt is acceptable
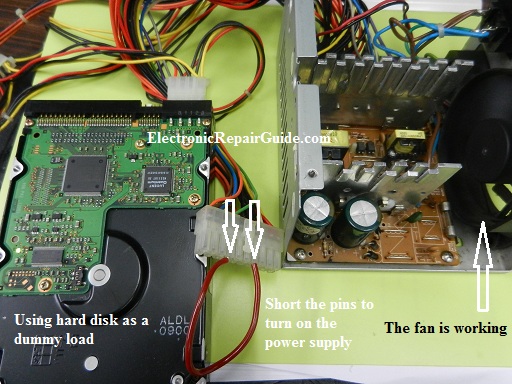
It should have about 5 volt otherwise the power supply still have problem. Now, I shorted the green (pin 14) and the ground wire to turn on the power supply. Well, as expected I saw the fan working and measured all the output voltages to be within range i.e. 12 volt, 5 volt, 3.3 volt and etc.
Special note: Not all ATX power supplies can run without load. Some will shut down after few seconds (fan rotate for a while and stop) You can either use dummy loads like used motherboard, hard disk and even ATX power supplies tester to test out the power supply. The best is still using the orginal board for testing. For your information I will get the latest ATX Power supplies tester soon. Once I got it I will write another article on how to use this tester on ATX power supplies.
Conclusion- I knew that many of us no longer repair cheap and throw away electronic equipment. We are sort of like been programmed to only repair equipment that can only bring big bucks. But seeing a dead equipment that can be brought back to life is a joy and is one of the whole purposes being an electronic repairer. "Once in a while we should just remove the money sign $$$ from our mind so that we can go back to the basics of electronic repair which is fun, satisfying and fulfilling".
Recommended Ebooks
My latest ebook on LCD Monitor case histories volume 2
Click here to learn how you can become a Professional in Switch Mode Power Supply Repair
Click here to learn LCD TV SMPS repair By Damon
Click here to learn LCD TV Repair Secrets By Damon
Click here to read the review of LCD TV Repair Tips Volume 2 by Kent Liew
Click Here To Learn DVD Player Repair By Humphrey
Click Here To Learn How To Repair LCD Monitors With the Help Of 10 True Repair Case Histories
Click Here To Learn LCD TV Repair Tips Volume 1 by Kent Liew
Click Here To Learn Laptop Motherboard Repair
Click here to learn how you can become a Professional in Testing Electronic Components
Click here to learn how you can find burnt resistor value
Click here to Get 24 Best Electronics Repair Articles
Click here to learn how you can become a Professional in LCD Monitor Repair
Click here to learn how to repair Plasma Television By Damon
Recommended Basic Electronics ebook By Greg S Carpenter Recommended Mr Steve Cherubino Laptop Repair Videos For Beginners!
Recommended Mr Kent LCD TV Repair Membership website-Visit Now!
Recommended Mr Kent Plasma TV Repair Membership website-Visit Now!
Recommended Print Head Repair Guide By William Hor
Recommended Mr Kent Projection Television Repair Membership website-Visit Now!
Recommended CRT TV Repair ebook by Humphrey Kimathi
Recommended Computer Repair Course
Click Here To Learn LCD TV Repair
Click here to learn LCD TV Repair Case Histories
Click here to learn PS3 repair
|
|
Copyright@ 2006-2014-www.ElectronicRepairGuide.com All Rights Reserved
